Bullet Journal – How to create a Monthly Spread
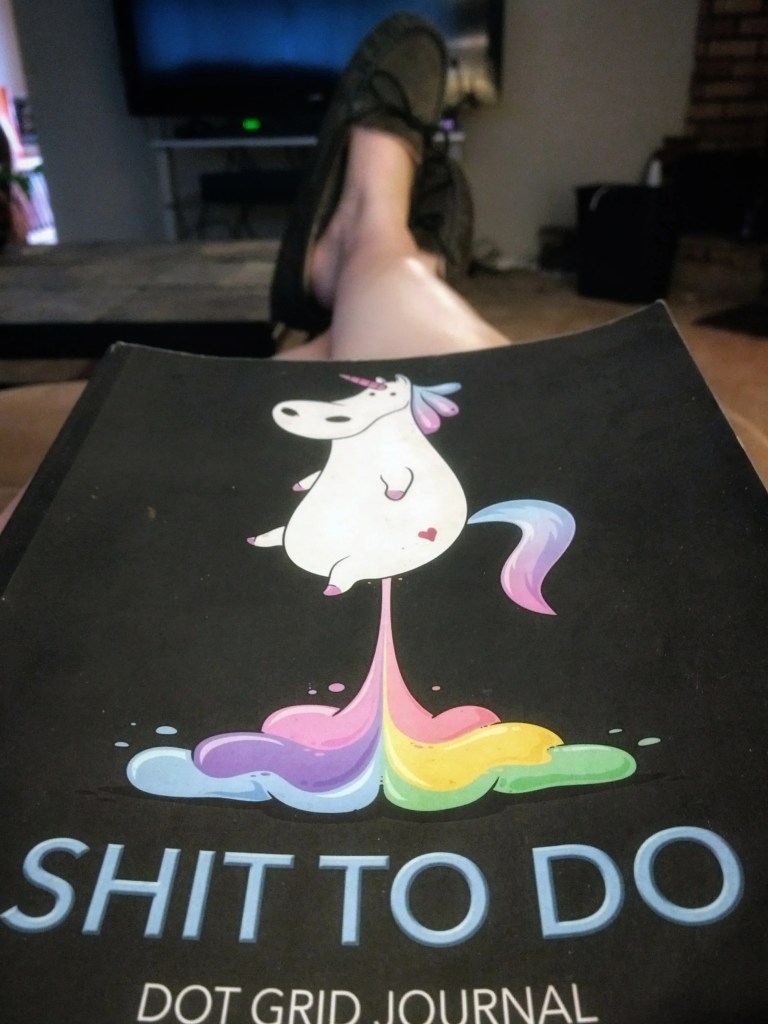
Hello my friends! I wanted to share with you the monthly spread I’ve created for my bullet journal. If you have no idea what a bullet journal is, let me quickly explain (at a later date, I’ll go into a more in depth overview of what a bullet journal is). A bullet journal is truly whatever you make it out to be. For me, it is more like a glorified “planner.” I use it to design a custom planner that includes an overview of the year, a section for the months, and then it’s broken down into weeks. I’ve also included sections for listing goals, steps to achieve those goals, and trackers for those goals. You can use any blank journal you would like, but I highly recommend sticking with ones that have dot grid pages. Some people like to had journaling sections, others may collect recipes or lists of ideas, among many other things. The sky is truly the limit on these. If you are the artsy fartsy type, then you can take the time to draw and really turn your bullet journal into a beautiful piece of art.

DISCLAIMER: I am NOT the artsy fartsy type. Any “art” you might get lucky enough (or not so lucky?!?) to see on my bullet journal posts are either nice looking thanks to the help of stencils, or they will not be fancy and make you want to cry. I lack in all areas of art from color matching to attempts at drawing stick figures. Just about the only thing I can draw is a mountain with snow caps, a pine tree, the sun, and a bird in the sky.

Ok, I may have lied on that one….I can’t even draw that! But on a serious note, if you want to be inspired by super artsy bullet journals, this is NOT the place to be. However, if you want just a practical, realistic, anyone can do it, guide to making a bullet journal, then stick around! My lack of artistic ability means that what I show you is something anyone can handle!
Bunny trail is over, now on to the monthly spread of my bullet journal.
Set up
Any time I start a new layout, I put big dots where the corners of boxes will go. It’s like setting up connect the dots! Remember that game?! For my monthly spread, the only dots I’m setting up are for the layout of the calendar. On my monthly spread, I arrange things Sunday-Saturday. This makes it easier for me to match the calendar I’m creating to a real one. Remember, I have to keep it simple for myself!

April starts on a Sunday, ends on a Monday, and has 30 days. So I put dots in the places I need to create 30 boxes. To keep things symmetrical, my calendar days on the bullet journal monthly spread are 5x5s. So I go 5 pre-printed dots over and 5 pre-printed dots over to create the “connect the dots” game for my calendar! That’s what works for me, and for the size of journal I bought. You may need a different size based your preference and the size of your journal. Reminder: When you are figuring out how to lay it out on your page, remember to leave room somewhere for writing the name of the month. If using a stencil, have the stencil on the page where you want your month so you leave adequate room for the lettering size.
Playing connect the dots
Once I have all of MY dots in place, I pull out the trusty ruler (that I’m convinced is NOT straight) to help me get my semi-straight lines. Time to play connect the dots! FYI, do not use a pen that likes to smear. Something fast drying is best. Trust me, after all the spreads I’ve created with ink smears on the page and all over my hands…you don’t want that.

Yes, when you put your dots in first, you will see them. If that drives you crazy, then put smaller dots, or just skip that step. Big dots make it easier for me!
Labeling and making it pretty
Once you have your lines in place, it is time to fill in the extras. This is where I get my fancy stencil and color pencils out! I add the month to the top of the page, list the days along the top of the calendar, and then date each box. Since I have a large journal, I have room at the bottom of this page for something artsy or motivating. Each month I do something different. Sometimes I use it to jot down thoughts or a quote to ponder for the month. What I DON’T use it for (but maybe you can!) is for crafty art work. This would be a great spot for pretty flowers, or a seasonal picture! While I don’t draw seasonal pictures, I do at least pick colors for the stencil lettering based on the season. April makes me think of Easter and spring flowers, so I went a little crazy with the colors.

The extra page
Since my weekly layout for the bullet journal takes up 2 pages, I needed a use for the extra page next to the monthly. So I decided to use that page for tracking monthly habits, bills, goals, and tasks that need to be taken care of that month. I will say, I did free hand the fun little squiggly under the categories. I get some art credit for that, right?!

And that is pretty much it! I usually make the monthly spread for the upcoming month about 1/2 through the current month. Usually by the middle of the month I am starting to make enough plans for the following month that I need the spread ready to go instead of jotting things down in my yearly spread. I’ll jot important things down directly in my monthly calendar and start adding more details under bills, goals, and tasks. When I’m in the last week of the current month, I then start creating the weeklies for the following month. My weeklies get quite a bit more detailed, and their my favorite areas of my bullet journal. More on that in the near future!
Do you use a bullet journal? If so, what do you like having on your monthly? If you don’t use one, what first made you interested in it? I’d love to hear your comments or questions below!


